Since I am still in a sling from my shoulder surgery, there is not a ton of creating I can do one handed - and boy is it driving me crazy!!! My mind is ever spinning with ideas and designs I can't wait to make come to life and anyone who knows me, knows I can not sit still! So in trying to not go stir crazy, I found a simple project that my one good hand could handle - painting! We have a work table that years ago we bought for our kitchen - nothing fancy from Ikea even - that when buying grown up furniture we decided to move it outside by our grill and use as a work table when we are cooking out - which in the summer is always!! We were a little lazy and did not finish it but always kept it covered so the wood is still sturdy and the piece is still in tact but with some rough winters its appearance is not so pretty!
We started by sanding the piece really well. My husband used a palm sander with 80 grit sandpaper. After the sanding he put a coat of mineral oil on the piece to clean it and help the stain take better.
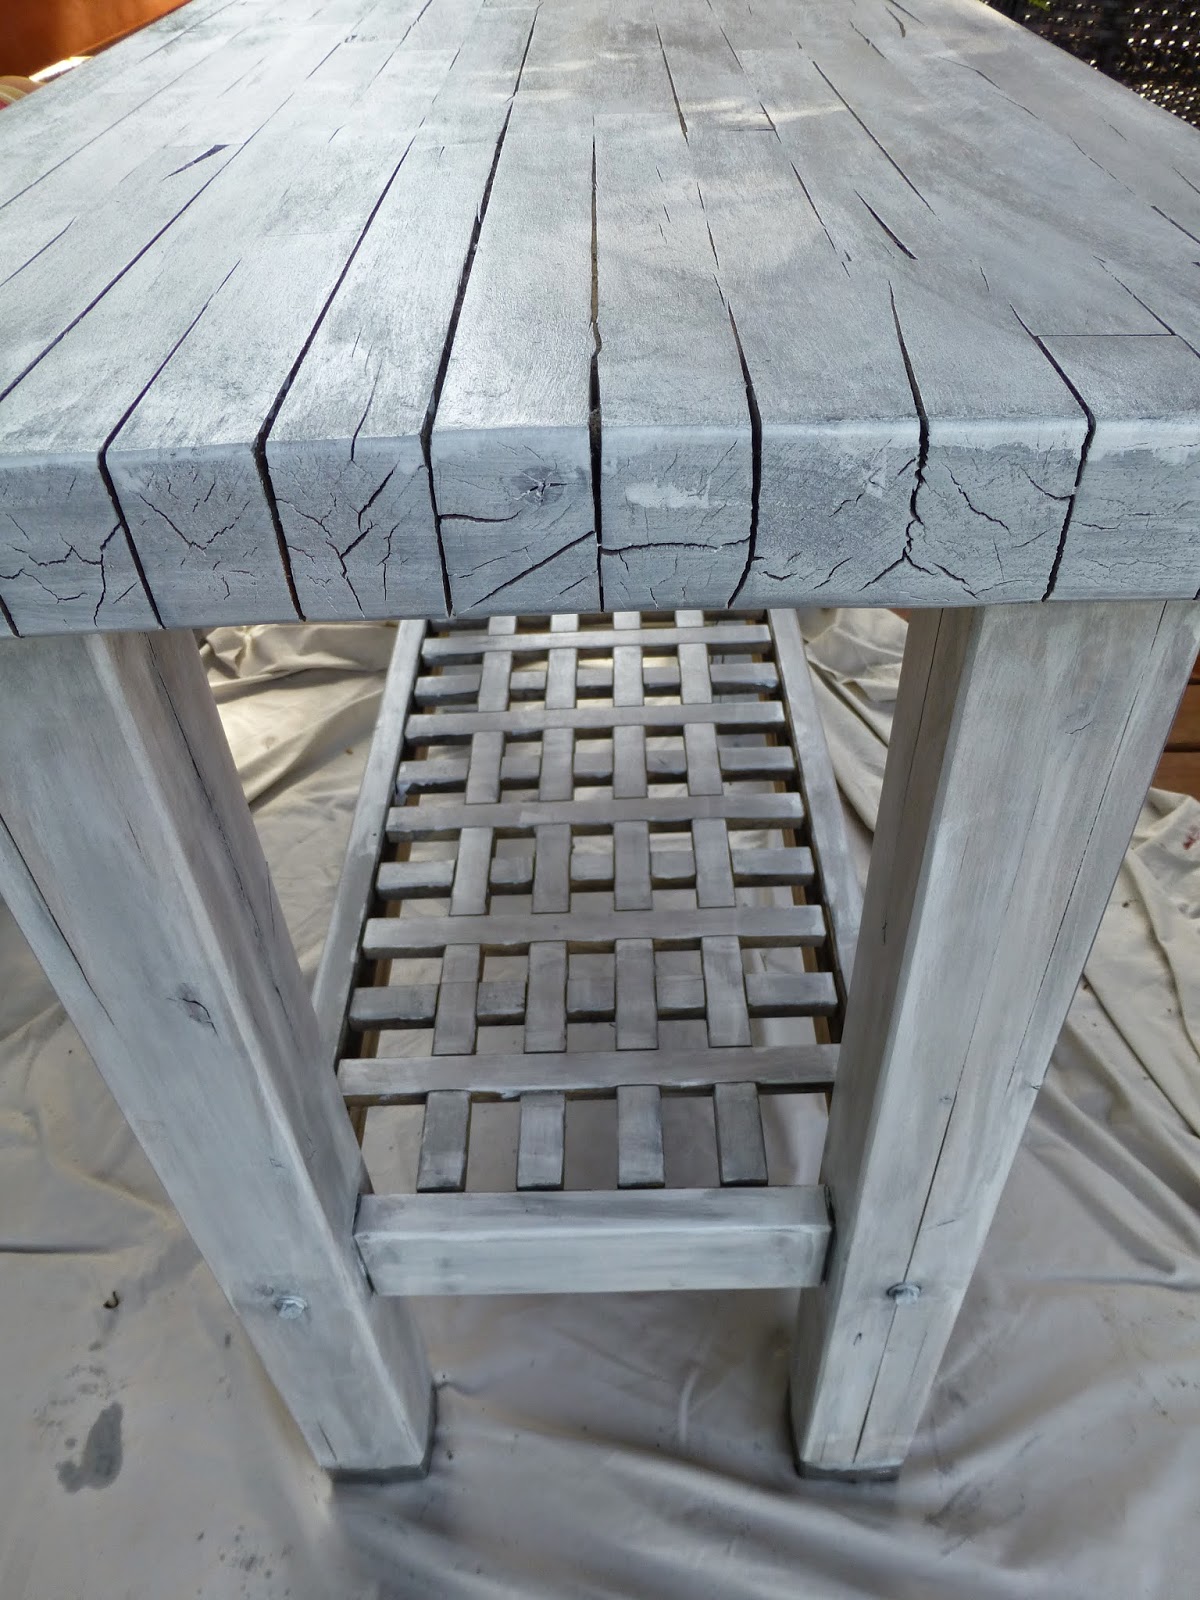
Once that dried, I applied the first coat of stain. We live on the beach so I wanted to have this piece look somewhat like beach wood to give it a beachy feeling. The first coat of stain I used was Minwax Wood Stain in White Wash Pickling. This does not go on like normal stain - it is a bit thicker and goes on almost like paint. I brushed this on with a foam brush. Here is what it looked like with one coat.
After that dried, I applied Minwax Wood Finish in Classic Grey. This I applied with a dry rag. I would brush the stain on, let it sit for a minute or two and then with another rag wipe it down. This part is really to your liking. I did not want the piece to be too dark and i still wanted the white to come through so in some places I only did one coat, in others I did 2 or sometimes 3.
To finish the project and make it usable for the outdoors, we applied a Spar Urethane that is meant to protect from the outside elements - sun, rain, temperature changes. Again we went with Minwax and we used a semi-gloss finish in clear. Remember that a lot of these top coats do have a faint tint to them so if you want to stay away from drastically changing the look of you paint, make sure to use a clear. Even with the clear it darkened our colors a tad bit.
HERE IS HOW WE TOOK THIS:
AND TURNED IT TO THIS:
We started by sanding the piece really well. My husband used a palm sander with 80 grit sandpaper. After the sanding he put a coat of mineral oil on the piece to clean it and help the stain take better.
Once that dried, I applied the first coat of stain. We live on the beach so I wanted to have this piece look somewhat like beach wood to give it a beachy feeling. The first coat of stain I used was Minwax Wood Stain in White Wash Pickling. This does not go on like normal stain - it is a bit thicker and goes on almost like paint. I brushed this on with a foam brush. Here is what it looked like with one coat.
After that dried, I applied Minwax Wood Finish in Classic Grey. This I applied with a dry rag. I would brush the stain on, let it sit for a minute or two and then with another rag wipe it down. This part is really to your liking. I did not want the piece to be too dark and i still wanted the white to come through so in some places I only did one coat, in others I did 2 or sometimes 3.
To finish the project and make it usable for the outdoors, we applied a Spar Urethane that is meant to protect from the outside elements - sun, rain, temperature changes. Again we went with Minwax and we used a semi-gloss finish in clear. Remember that a lot of these top coats do have a faint tint to them so if you want to stay away from drastically changing the look of you paint, make sure to use a clear. Even with the clear it darkened our colors a tad bit.
It is great to give life back to this piece that most people would have disposed of. Now I can't wait to use it at our next big cookout!!


Wonderful tutorial and such an interesting technique to try with the pickling paint. I think I'll have to try it and see what happens. Beautiful and upcycled table.
ReplyDeleteHi-- this does look clean and pretty and upscaled! But the before picture looks like barn wood--it's the look that people try to get without having to leave wood out in the weather for a few seasons. I would have just put a finish coat over what nature had done for you so that the piece wouldn't deteriorate ;)
ReplyDeleteI love how refreshing and beachy the transformation turned out.
ReplyDelete